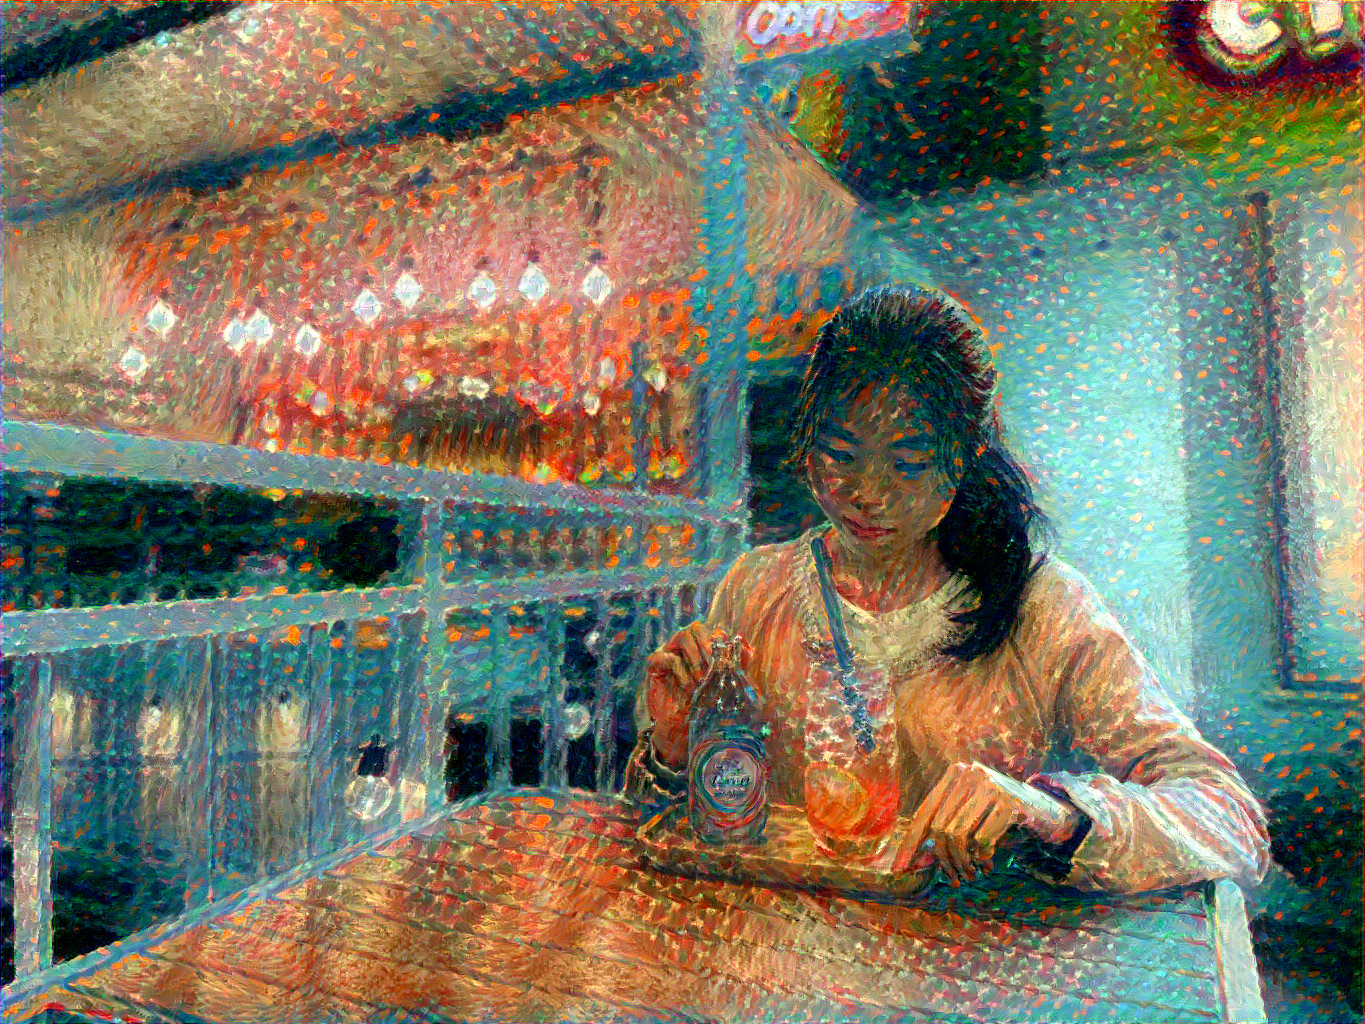

The goal of this project is to build larger textures from a sampled smaller texture. We go over three methods of progressively improved image quilting.
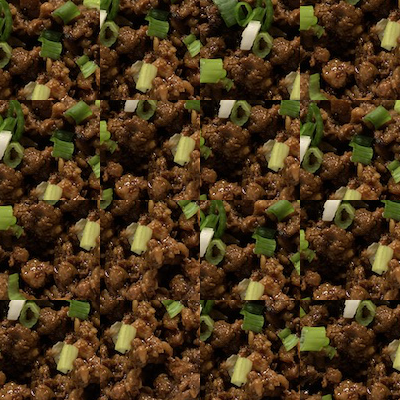
The most basic way to patch random samples from the original patch. This is the most naive method that doesn't work well. We start from the top left and go left to right up to down. This is the same order for the other quilting methods too.
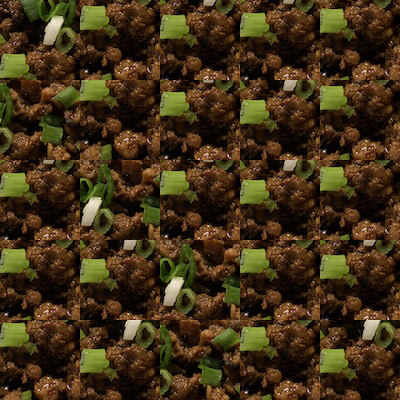
The next way to sample texture is to overlap close patches on edges. This method uses convolution to find the closest matching images with an overlapping edge. I use the suggestion from the paper to have overlap be about 1/6 of the patch size.
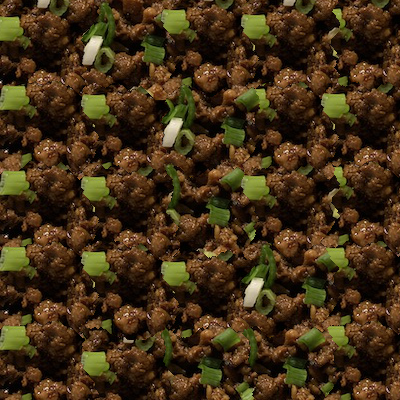
This method perforrms similarly as overlapping patches method but then instead of just overlapping the new patch on top of the other images, this method finds a minimal cut using SSD between the new and existing overlap.
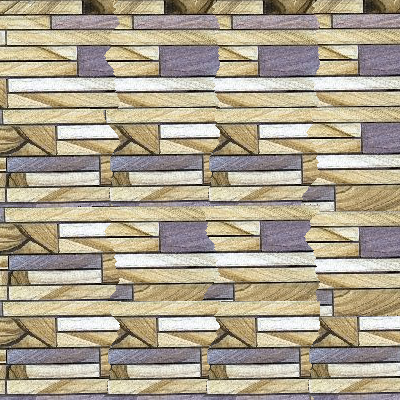
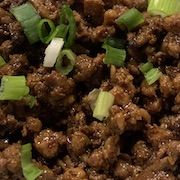
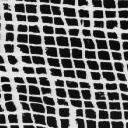


The next step in this was use the same SSD overlap and cut to transfer texture in order to make a given image into a certain style. This is done by comparing the SSD patch for the current canvas for image consistency like above and SSD for a base image that you want the image to look similar to. This is paramaterized by the patch size and overlap like before, but also now there is a tradeoff between continuity of style and closeness to the content's shape, we paramaterize this by a variable alpha where the continuity is weighted by (alpha) and content is weighted by (1-alpha).
As you can see, the method works well in that iit does capture the shape of the original image and has some interesting interpretations such as feynman's eye being a very sparse sketch and the hair in the marina picture having some nice rendering given Van Gogh's self-portrait. However, this method is very limited in that we have only one patch size to work with which means it's difficult to capture high- and low-frequency details while keeping the image well-blended.
Next, we can improve the texture transfer with an iterative method. The main idea here is to use progressively smaller patch sizes to capture the low-frequency and high-frequency details at different levels, progressively increasing the value of alpha as well. This not only helps capture detail better, it also blends the texture transfer better. I start out with block sizes that are 2/3 of the smallest axes of the content image, then progressively decreases the patch size to 2/3 of the previous until the patch size reaches >= 20 pixels. The overlap is 1/6 of the patch size. I also change the alpha so that there is more blending at higher frequencies, defined by the following:

As you can see, the results are much more visually consistant, with less obvious seams and blocks. I think Feyntoast worked particularly well. I don't think this method capture the content of the waves image as well but I like how the result has Van Gogh's eyesamd is more seamless which makes it feel more like a surrealist painting.
I used iterative texture transfer and feathered blending to turn my friend, Daniel, into a piece of toast.
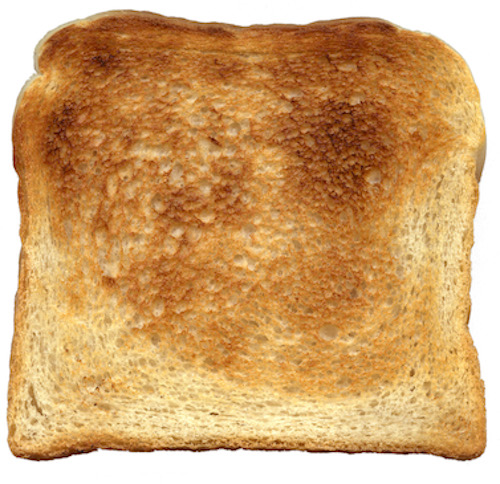
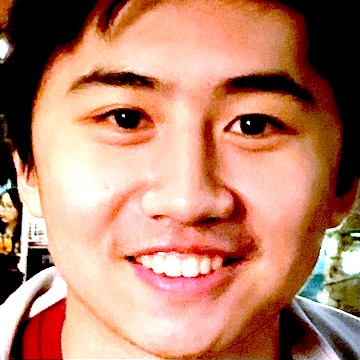
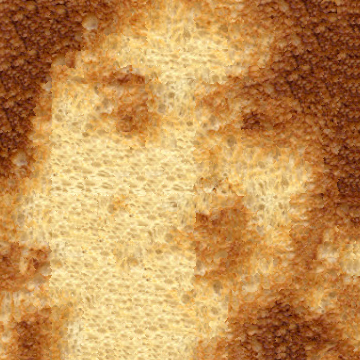
First, I turned Daniel into toast texture using iterative texture transfer. I increased the contrast on his picture because it helps define features for SSD.
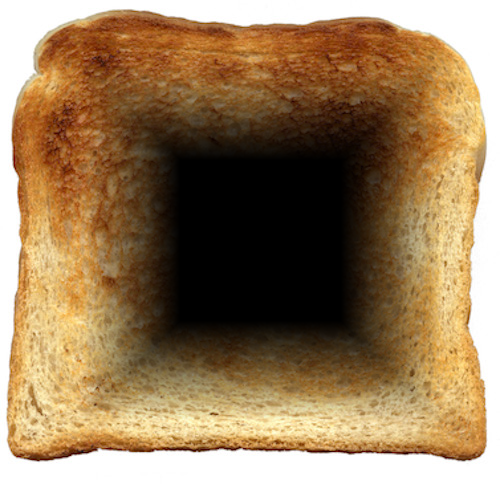
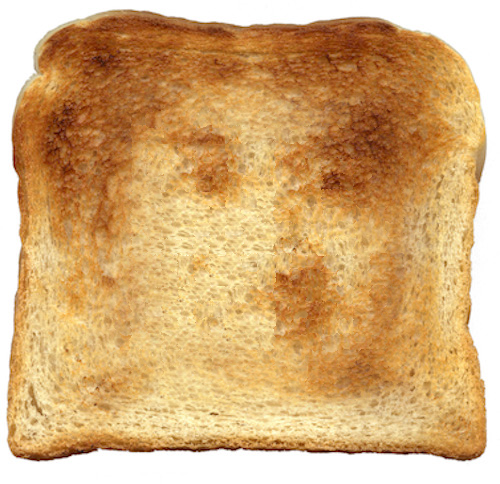
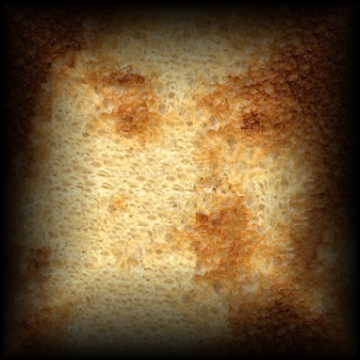
Then, I cut out a portion of the toast, feathered it, and did the inverse feathering to the Daniel Texture, leading to a convincingly Daniel-Toasted Toast
The natural successor to image quilting is using a neural network to transfer style to an image's content. This method was introduced in research paper "A Neural Algorithm of Artistic Style" from Gatys, Ecker, and Bethge.
The main idea behind this style transfer is that we are using a pre-trained network that is good at segmentation (in this case a VGG-11 network) in order to create a new image from two others: one that influences style (color, texture, etc.) and another that establishes content (the actual "things" segmentation detects) . Both the style and content images are pumped through our VGG network and their representations throughout the network (usually the first convolutional layer after a avg pool) is sampled. We sample the style and content image's representation thrroughout the network in order to compare the resulting image with the combined style and content. The style is taken at 5 convolutional layers and compared for loss using the SSD of the gram matrix of the style image and result image. The gram matrix helps define style features in an image rather than its per-pixel content. Content loss comparisons are sampled at one layer of the convolutional network and are direct SSD comparison with the result image.
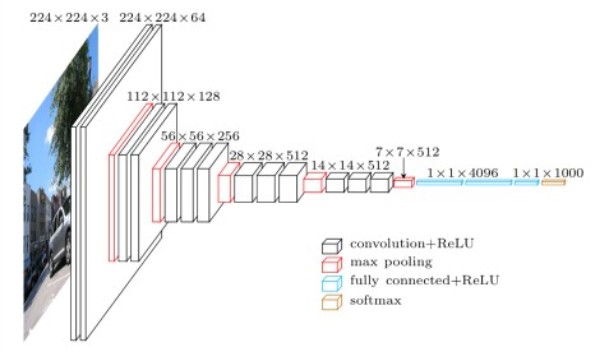
To the left is a VGG-11 network. The paper uses a VGG-19 network but I found this one works just as well despite its smaller size. In fact it works faster because it is smaller! The 5 convolution layers sampled are the very first "conv1_1", and then each convolutional layer after a max pooling (I changed max pool to avg pool in my implementation) "conv2_1", "conv3_1", "conv4_1", "conv5_1". The content layer to compare is a hyperparameter in my model among the "convX_1" layers listed above. The other hyperparameters are the weight of the style (the content loss weight was kept at 1) and then the learning rate of the LBFGS optimizer optimizing the image (default in pytorch is 1 which I kept it at). I also did not have a set number of iterations, rather opting to stop the optimization once its gradient differs by less than 1e-4 between iterations.
The first method I tried was starting with a randomized image as the result then optimizing on it. Unfortunately I don't think this works very well for the images I'm going for as seen in the grid of results before.
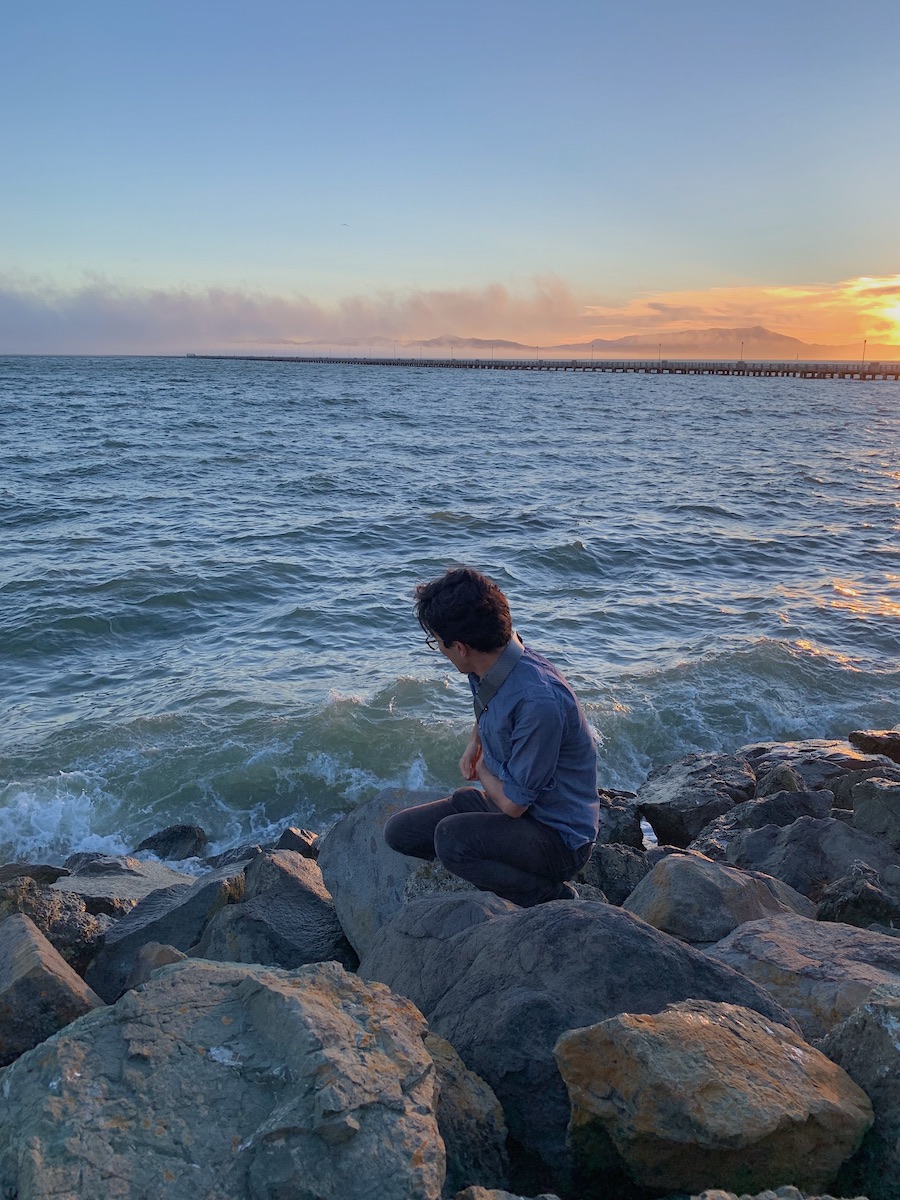
Content
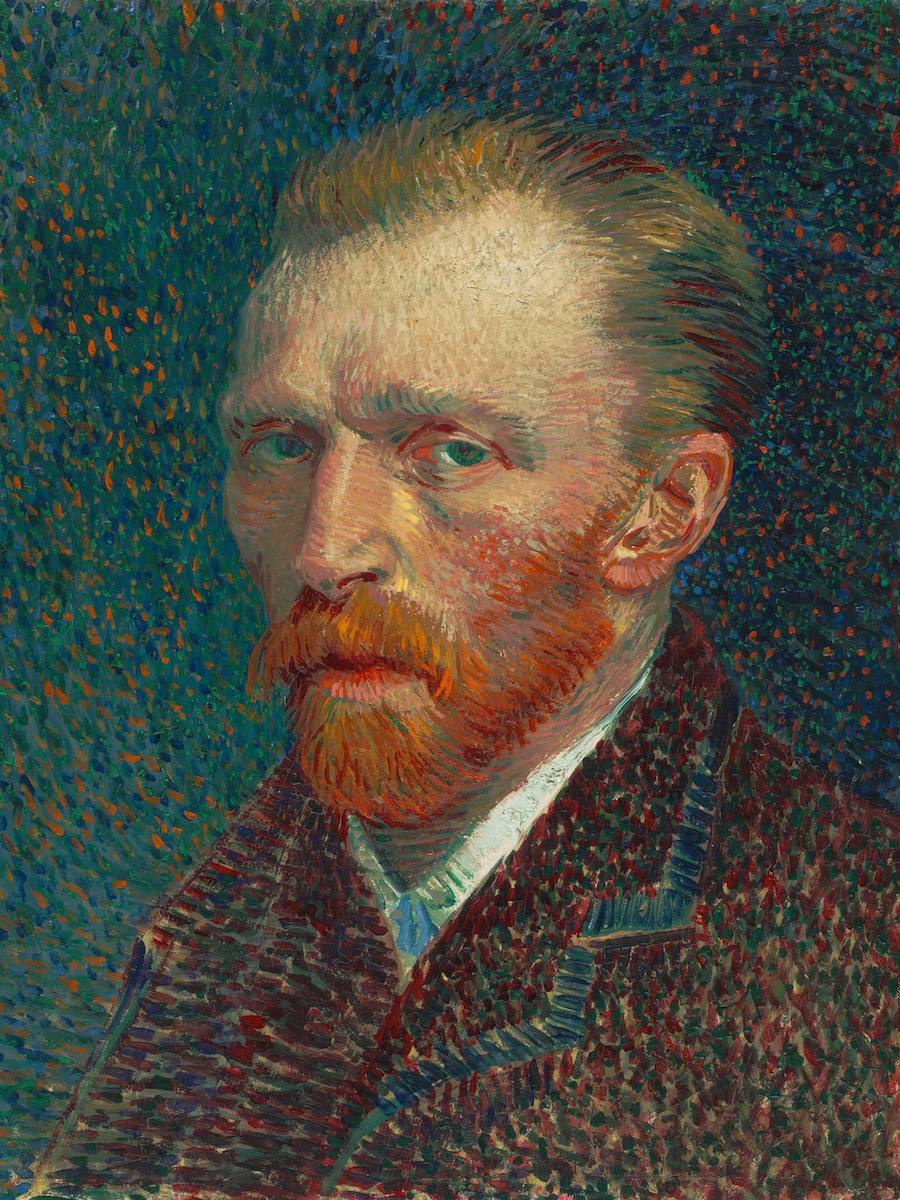
Style
Initialization
The following results are ordered by style weight on the x-axis (content weight is 1) and the content convolutional layer compared on y-axis.
10^2
10^3
10^4
10^5
conv1_1
conv2_1
conv3_1
conv4_1
As you can see, the results are very muddy and don't come out as precise as I would like. In turn, I switched to starting with the content image to optimize on. This lead to much more artistically interesting results in my opinion.
10^2
10^3
10^4
10^5
conv1_1
conv2_1
conv3_1
conv4_1
conv5_1
As expected, the deeper your content layer is the less defined the shapes become, and as style's weight increases there is a very noticable effect.
Here is a selection of some of my favorite results.
An interesting thing to note in the above image is that the last image's skin was properly colorized to the peachy pale of human skin. I'm not sure why this happened but possibly the segmentation VGG network matched the skin of Van Gogh to the skin of the man
I also tried to do the sketch-feynman using this method, I think it's more cohesive and recognizable but, ironically, I think the image quilting does a better job of being in the "style" of the sparse sketch.